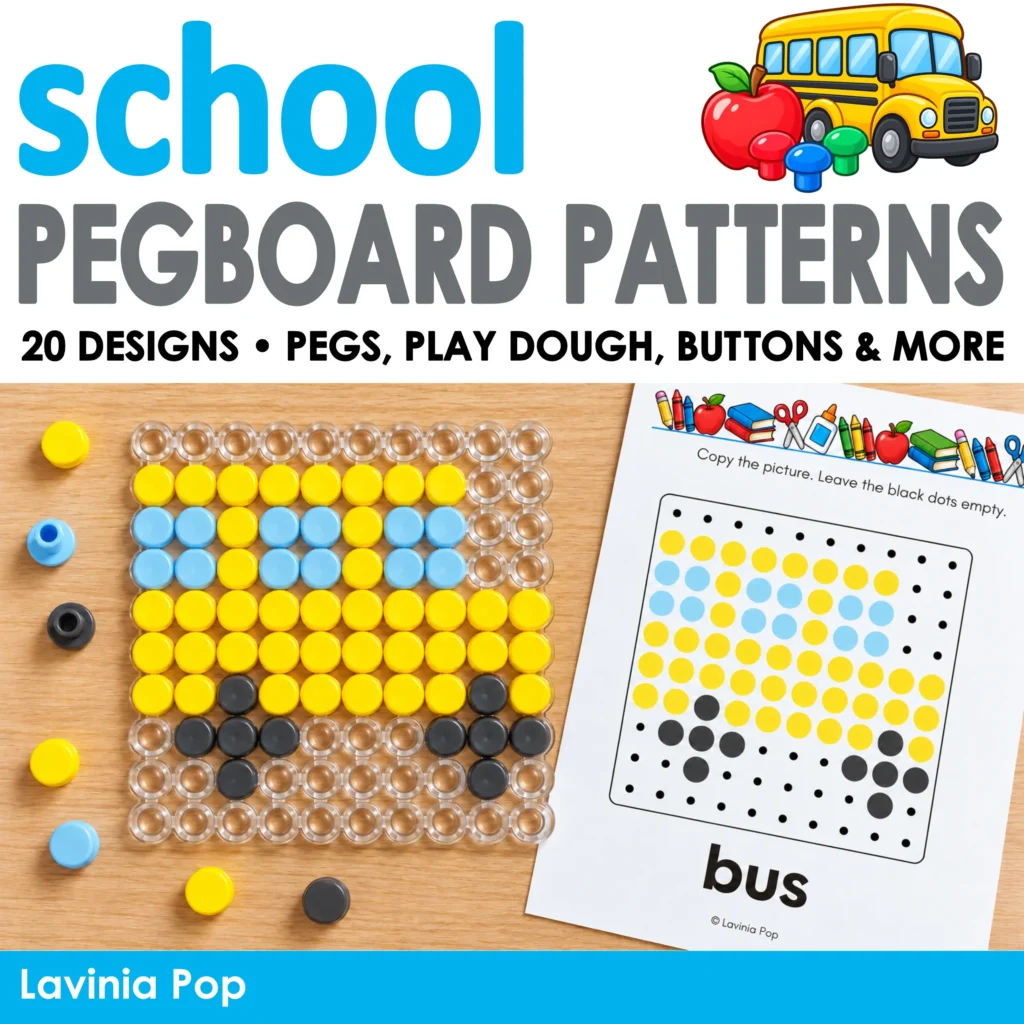
Looking for a colorful way to keep little hands busy at the beginning of the school year? These back to school pegboard patterns invite children to build familiar school pictures while practicing color matching, hand-eye coordination, and fine motor control.
Children choose a picture, find the matching pegs, and watch their design take shape! Use the activities for preschool and kindergarten fine motor centers, morning tubs, small groups, or a quiet table activity.
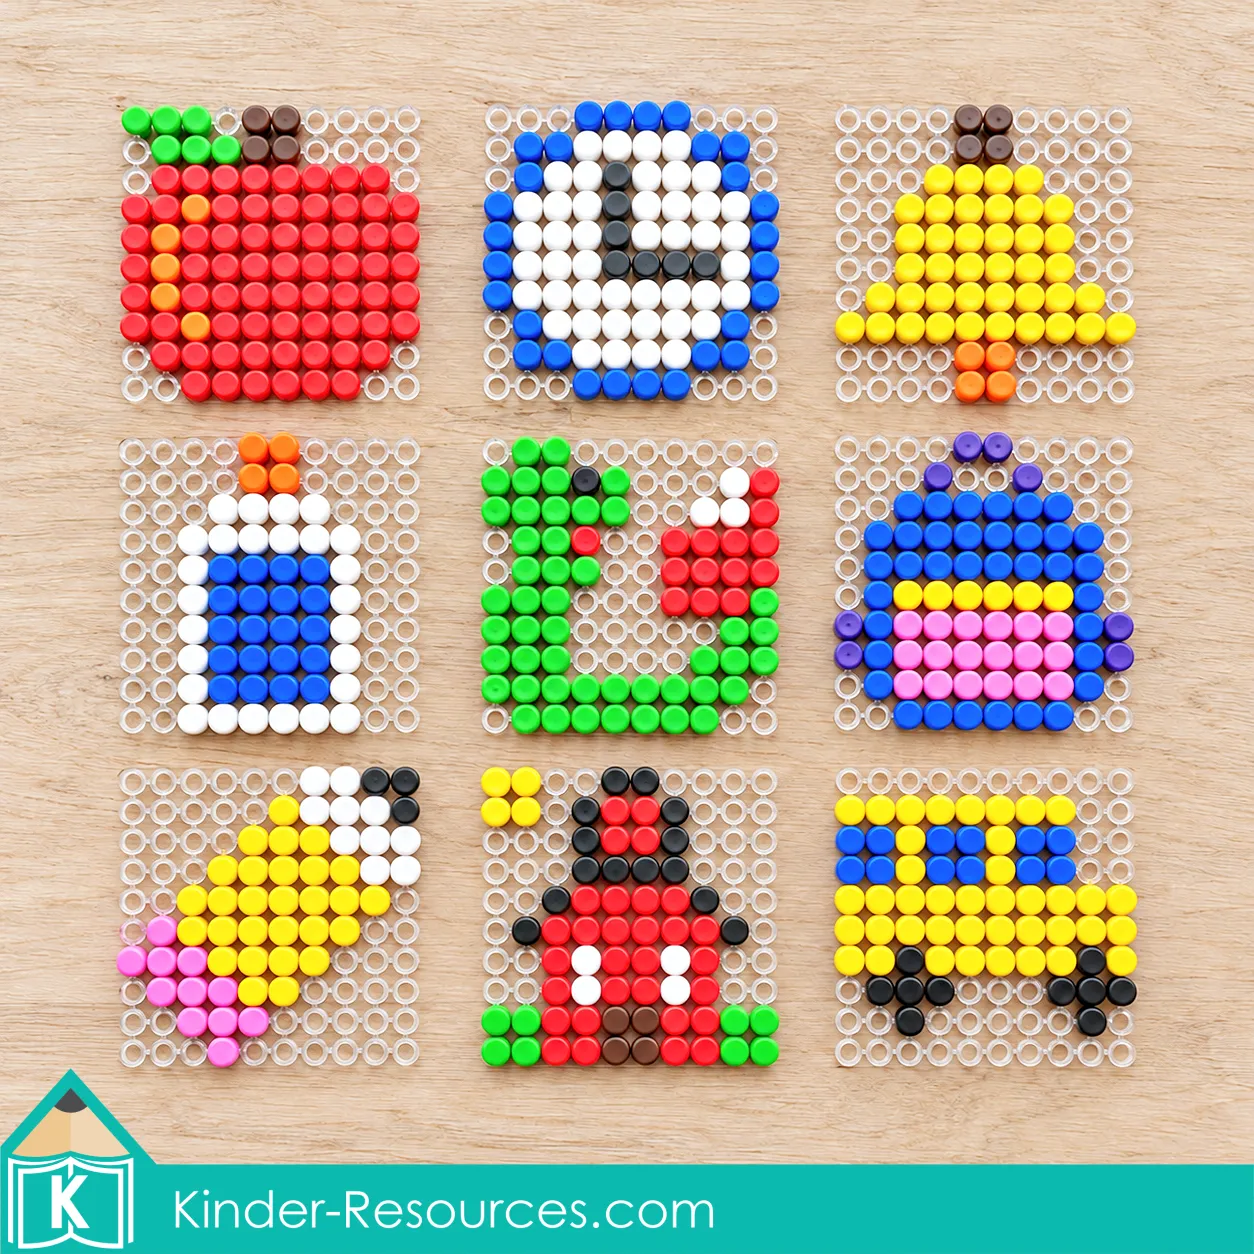
FREE Back to School Pegboard Download
Would you like to try a pegboard activity with your kiddos? Download the free sample below and set it out with a pegboard and a tray of colorful pegs.
Show children how to look carefully at the picture and match the colors and positions as they build. Working together on the first few pegs is a simple way to introduce the activity.
Building School Pictures with Pegs
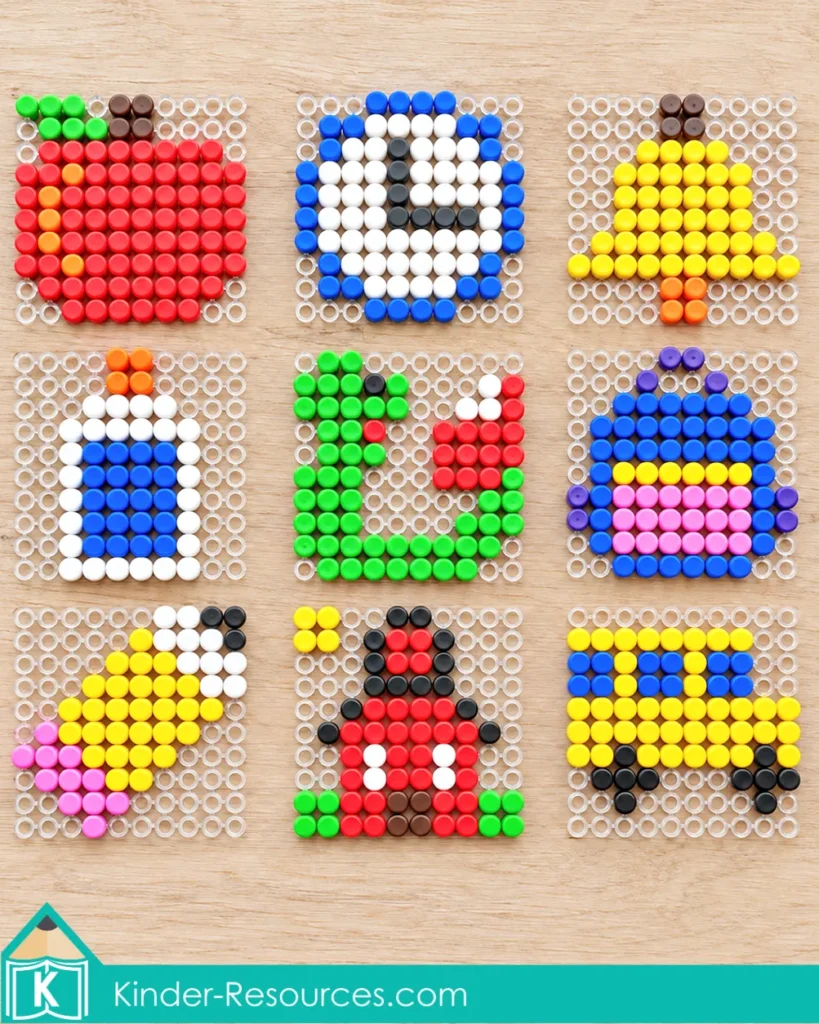
There’s something so satisfying about creating a picture one peg at a time! These back to school pegboard patterns include familiar objects that children can recognize and talk about as they work.
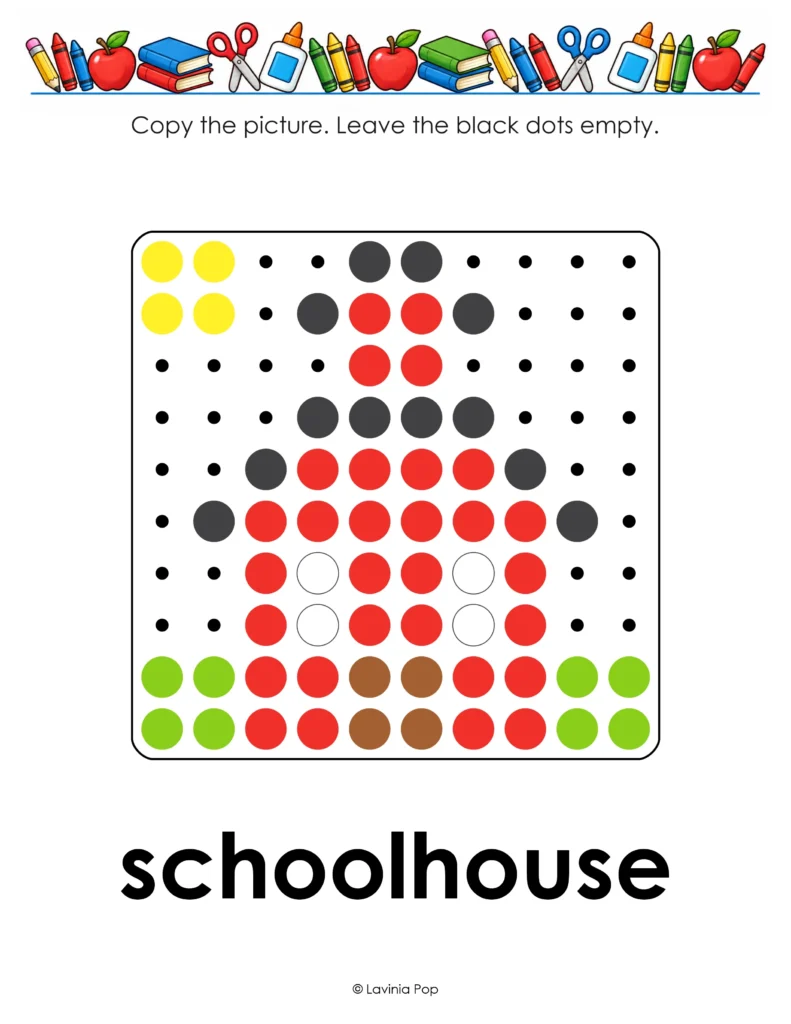
The school bus, pencil, glue bottle, backpack, and schoolhouse make a lovely starting point. You can also invite children to choose from other designs, such as the apple, clock, bell, and bookworm.
Set out two or three pictures at a time so children have a choice without needing to sort through the whole packet. Keep the remaining mats nearby and rotate them as children are ready for something new.
How to Prepare the Activity
For the pegboard version, gather:
- Printed back to school pegboard patterns
- A square pegboard with at least 10 rows and 10 columns
- Colored pegs that fit your board
- A shallow tray for the pegs
- Laminating supplies, if desired
Print the picture mats and laminate them for repeated use. Place a mat beside a pegboard and add a tray of pegs.
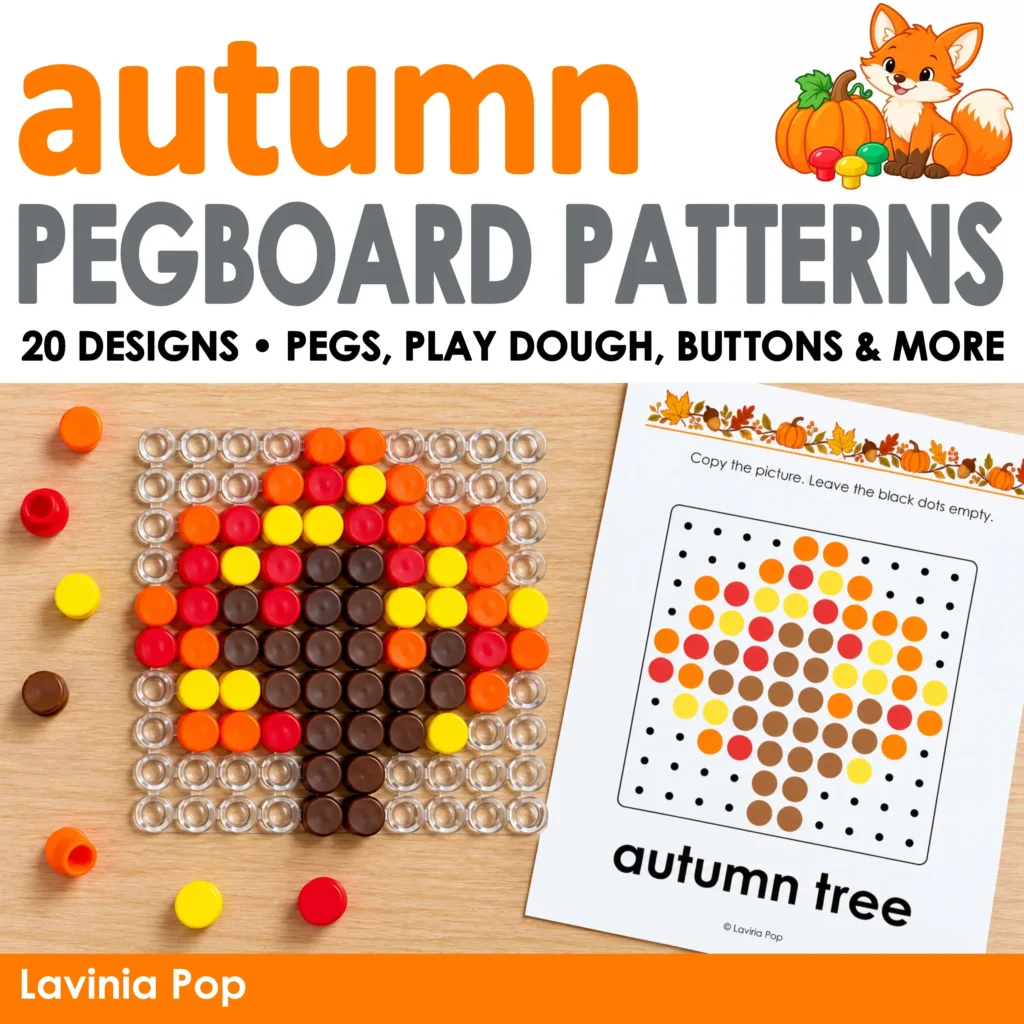
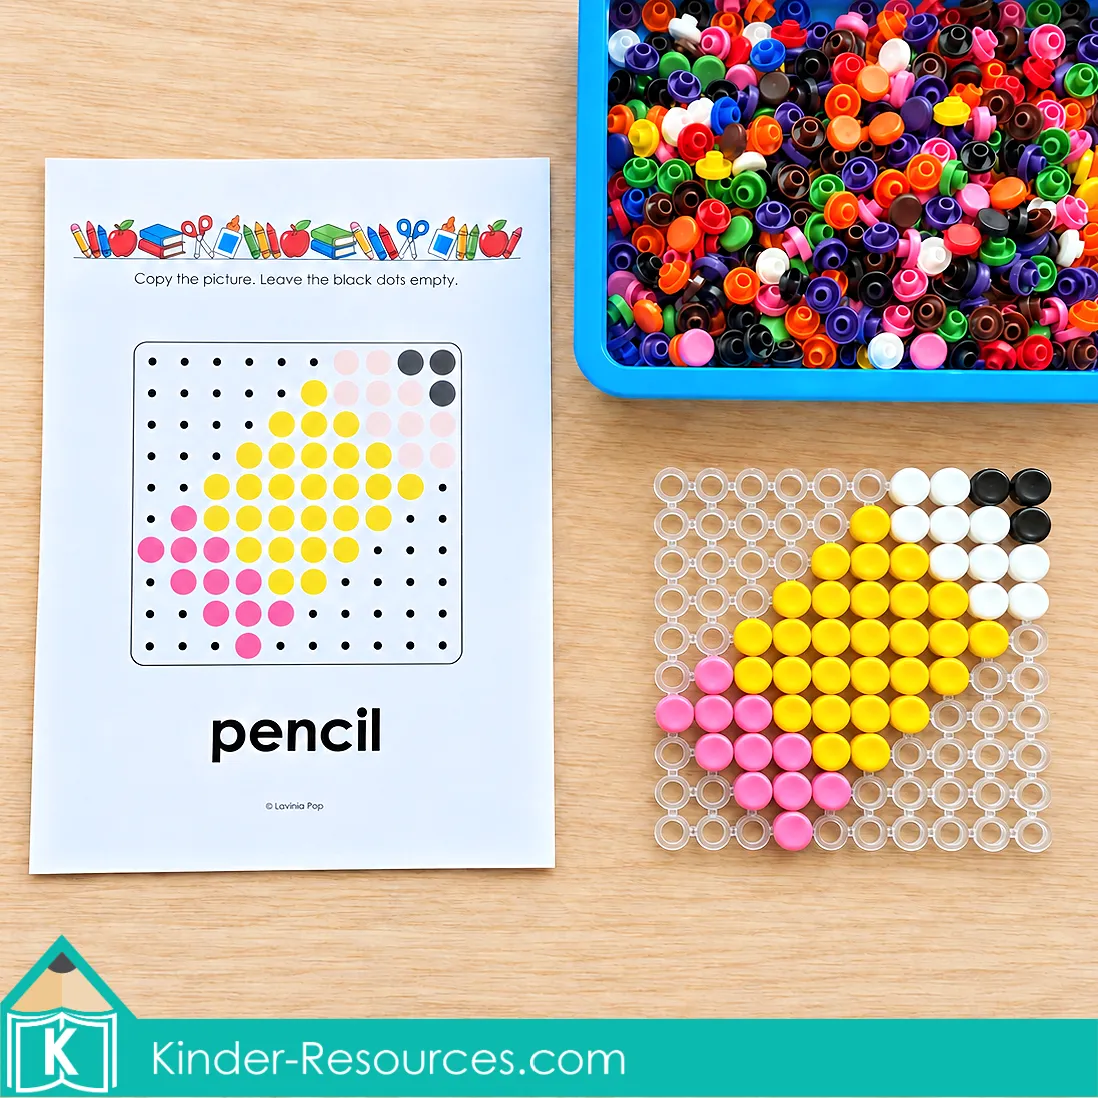
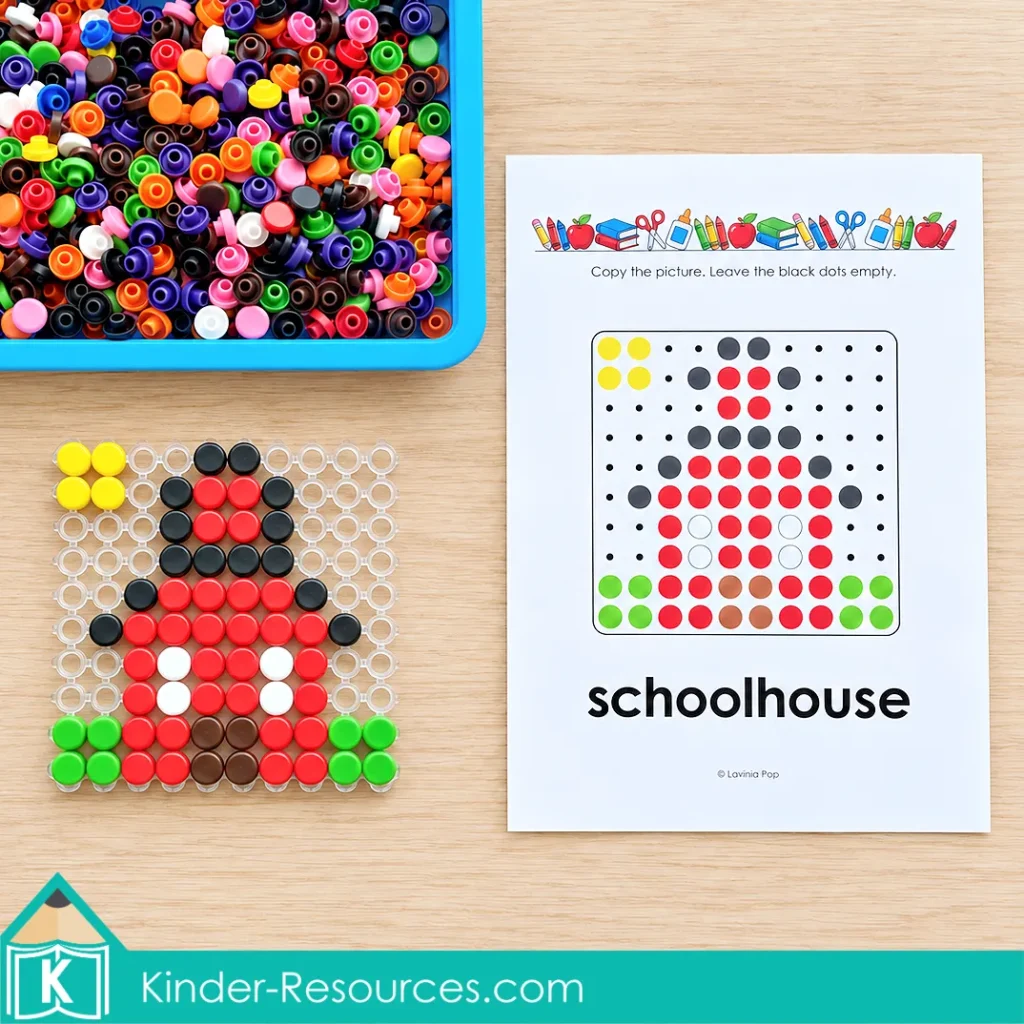
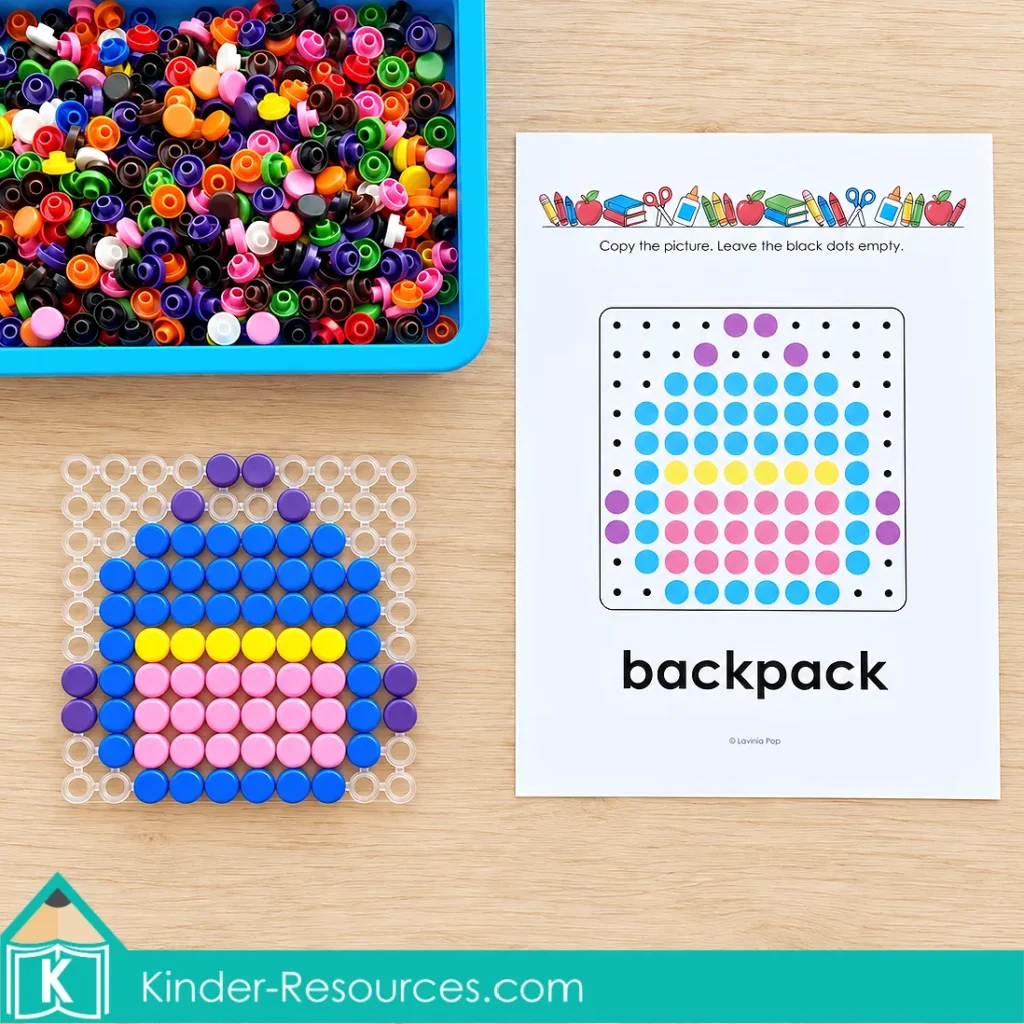
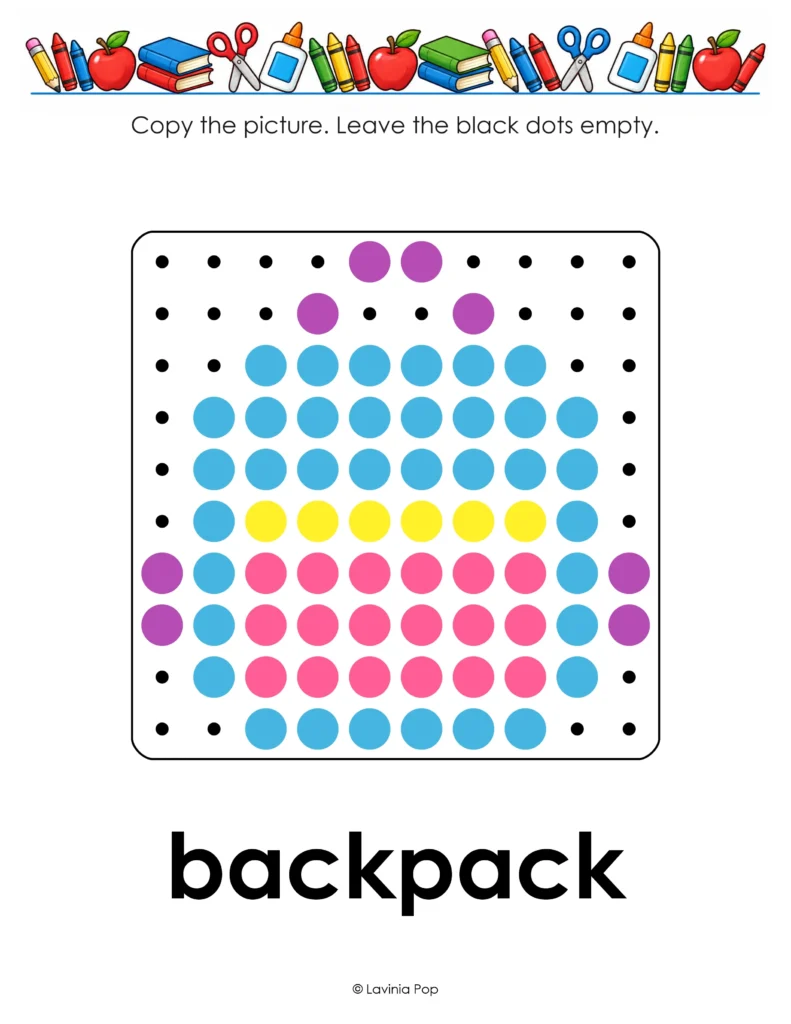
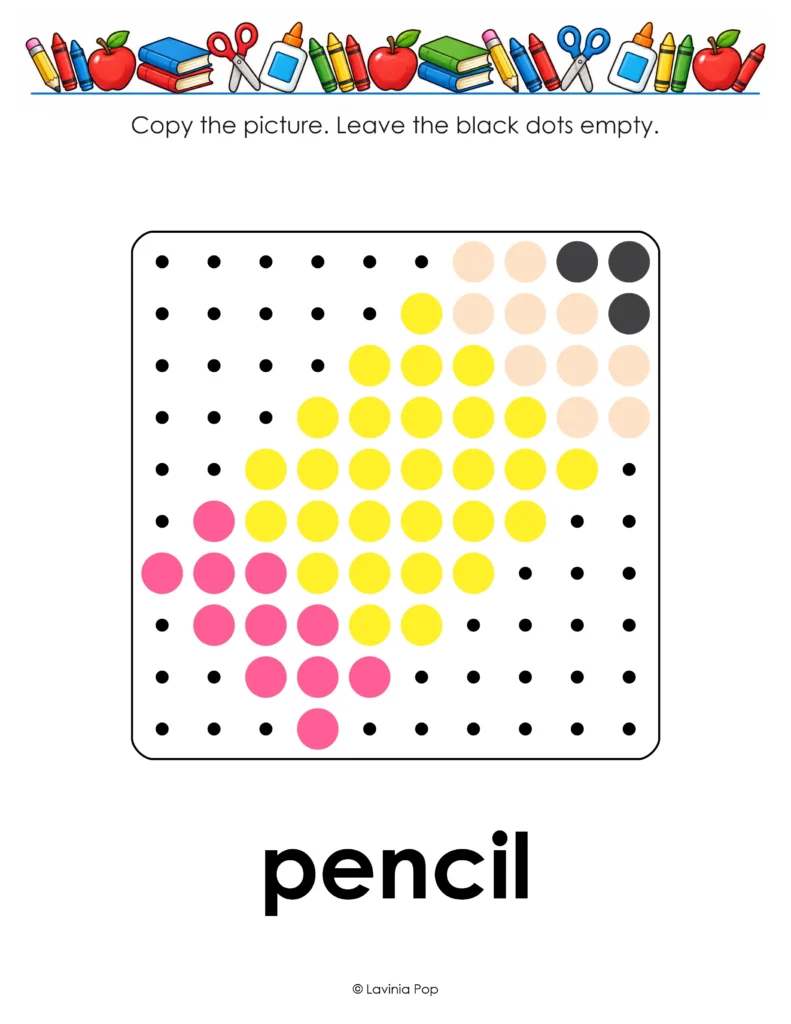
Children copy the large colored circles, leaving the spaces shown by the small black dots empty. Large black circles are part of the picture and need black pegs.
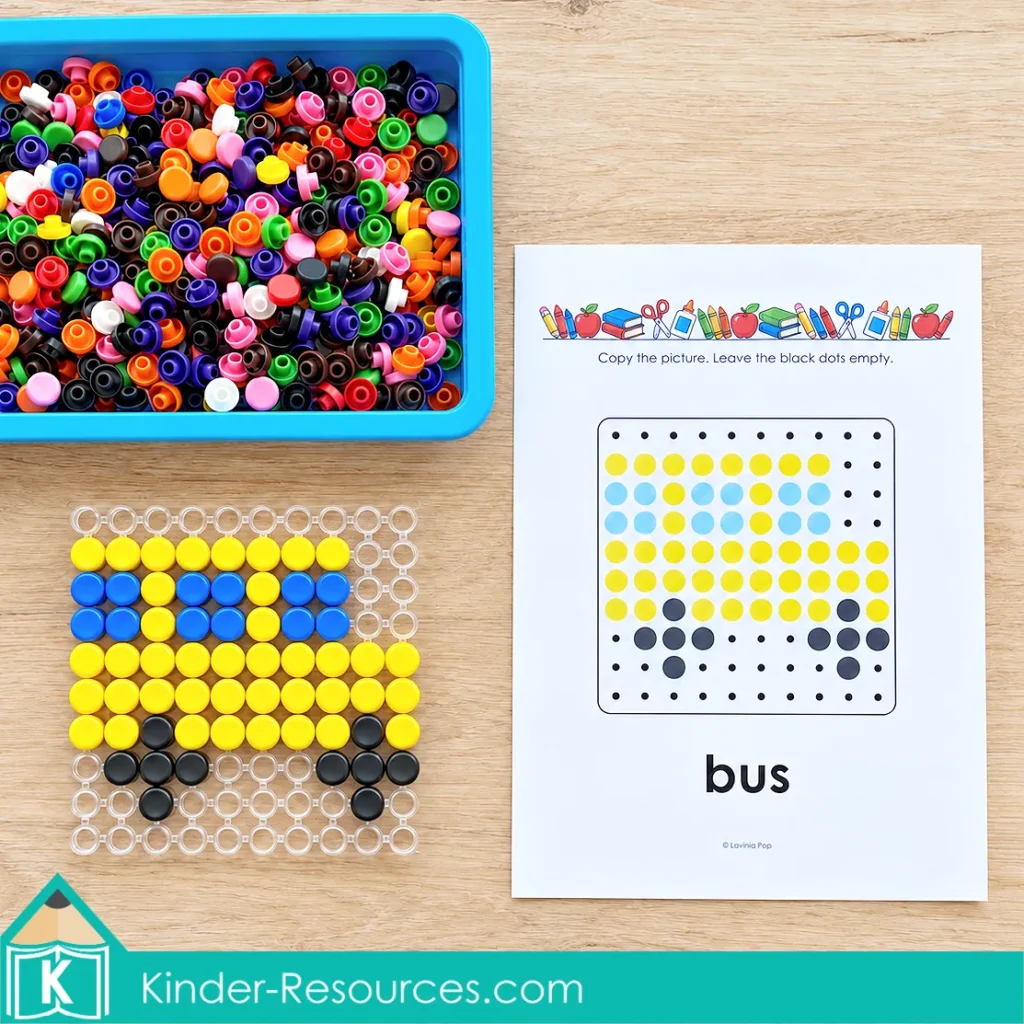
Some children find it helpful to build one row at a time. Others prefer to begin with a recognizable feature, such as the bus wheels or the backpack pocket. Encourage them to pause and compare their work with the mat as they go.
If you don’t have a particular peg color, choose a substitute and use it consistently throughout the picture.
The Pegboards and Pegs I Use
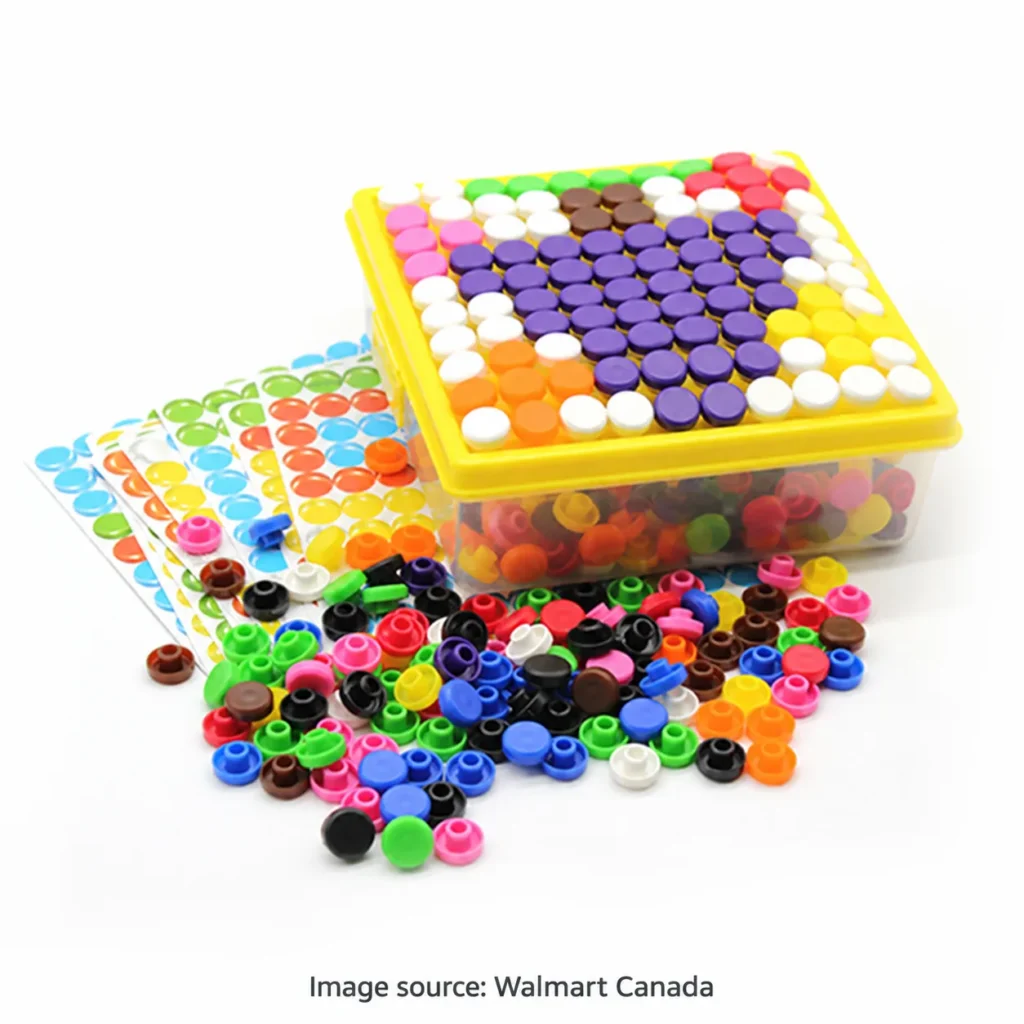
The clear mats shown in my photos have a 10-by-10 grid of connected rings. Small connectors join the rings together, leaving open spaces between them. The colored pegs fit into the circular openings.
If you’re looking for this type of activity, the following links are a useful starting point:
- Australia: Reusable Mosaic Set — OSHC Craft Kits
- Canada: Plastic Mosaic Puzzle — Walmart
- United States: Snap Button Peg Board Toy — Curious Minds Busy Bags
The Curious Minds board is a similar snap-peg option. Choose the large board for these patterns. Its listed set includes 10 pegs in each of 10 colors, so you may need extra pegs to complete pictures that use many pieces of one color.
Check the board dimensions, grid, peg colors, and quantities before ordering, as kits and availability can vary.
Does the Printed Picture Need to Fit Under the Board?
When children copy from a picture placed beside the board, the printed grid does not need to match the board’s physical size.
If you would like children to build directly over the picture using a clear board, print one page at 100% first and check that the holes line up with the grid. Adjust the print scale if needed before printing and laminating the remaining pages.
Simple Ways to Support Children as They Build
The pencil picture gives children practice following a diagonal design. They can begin with the pink eraser, build the yellow body, and finish with the pencil tip.
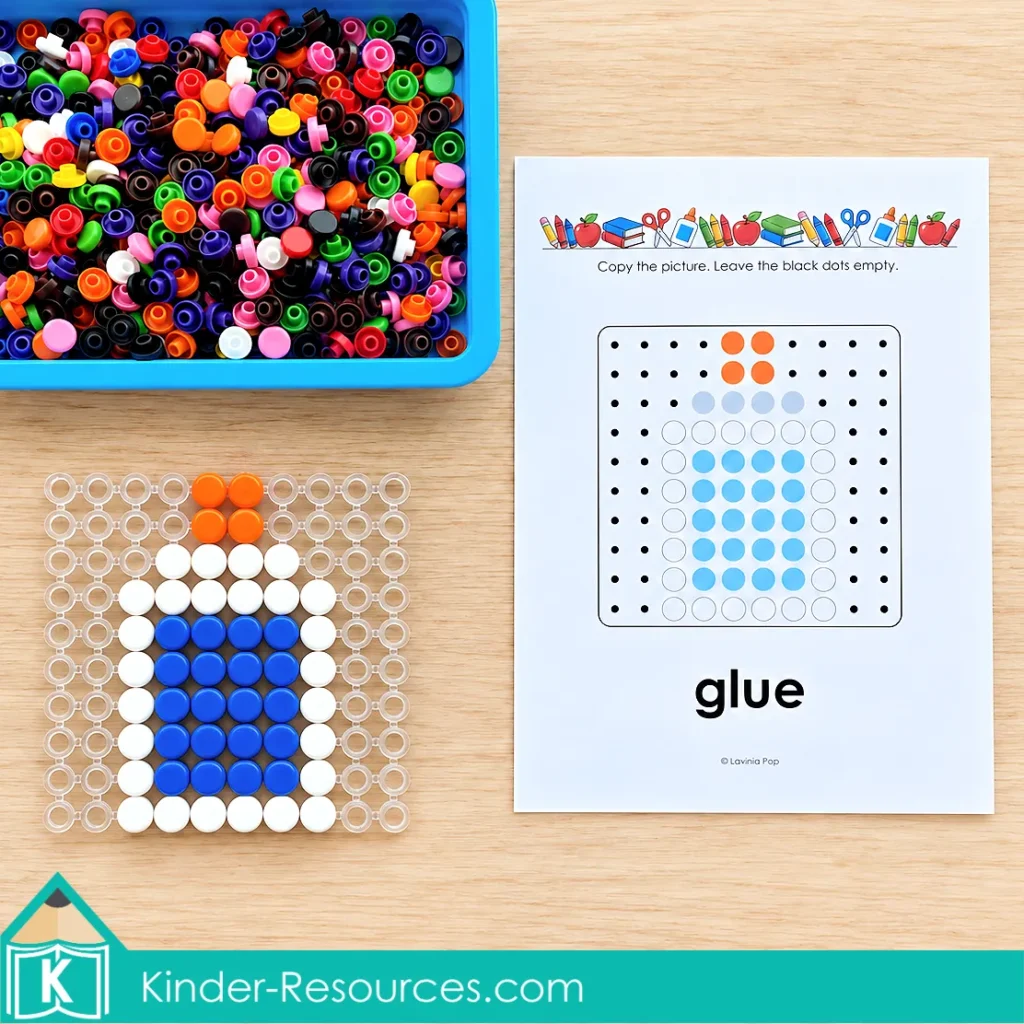
For the glue bottle, children might begin with the orange cap before adding the white outline and blue center. The backpack offers opportunities to notice different sections, including the handle, zipper, and pocket.
You can also add a little conversation:
- “Which color do you need next?”
- “How many pegs are in this row?”
- “What is above the backpack pocket?”
- “Can you find the part that looks different from the picture?”
For children who need support, select the required colors together or complete a small section as a model. They don’t need to finish an entire picture in one sitting.
More Ways to Use the Back to School Pegboard Patterns
You can use the picture mats with other materials, too!
Play dough: Roll small balls and gently press them onto the matching colored circles.
Pom-poms: Cover the circles using fingers or child-friendly tweezers.
Buttons or mini counters: Match the colors and place one piece on each large circle.
Round stickers: Peel and stick matching colors onto an unlaminated copy.
Tissue paper: Scrunch small pieces into balls and glue them onto the picture.
Choose materials that fit the circles, and leave the small black dots uncovered. Laminated mats or reusable pockets work well for loose materials and play dough. Use plain paper copies for stickers and gluing.
Get the Complete Back to School Pegboard Patterns
Ready for more pictures to build? The complete Back to School Pegboard Patterns packet includes 20 school-themed picture mats for hands-on fine motor practice.
Use them with your pegboards, or change the materials to create a fresh activity with a familiar routine.
Happy Teaching! 😊
You Might Also Like